
 800-891-8312


-1601395521090.avif)


There’s no denying that vintage is very in right now, and probably always will be. After all, it’s called “timeless” for a reason.
But how do you recreate that weathered and worn look on something new – or more specifically, on your home’s interior and exterior doors? Well, it can be done and it doesn’t require paying top dollar for something new that looks old and used.
Here’s how to distress a wood door in a few short steps, DIY-style!
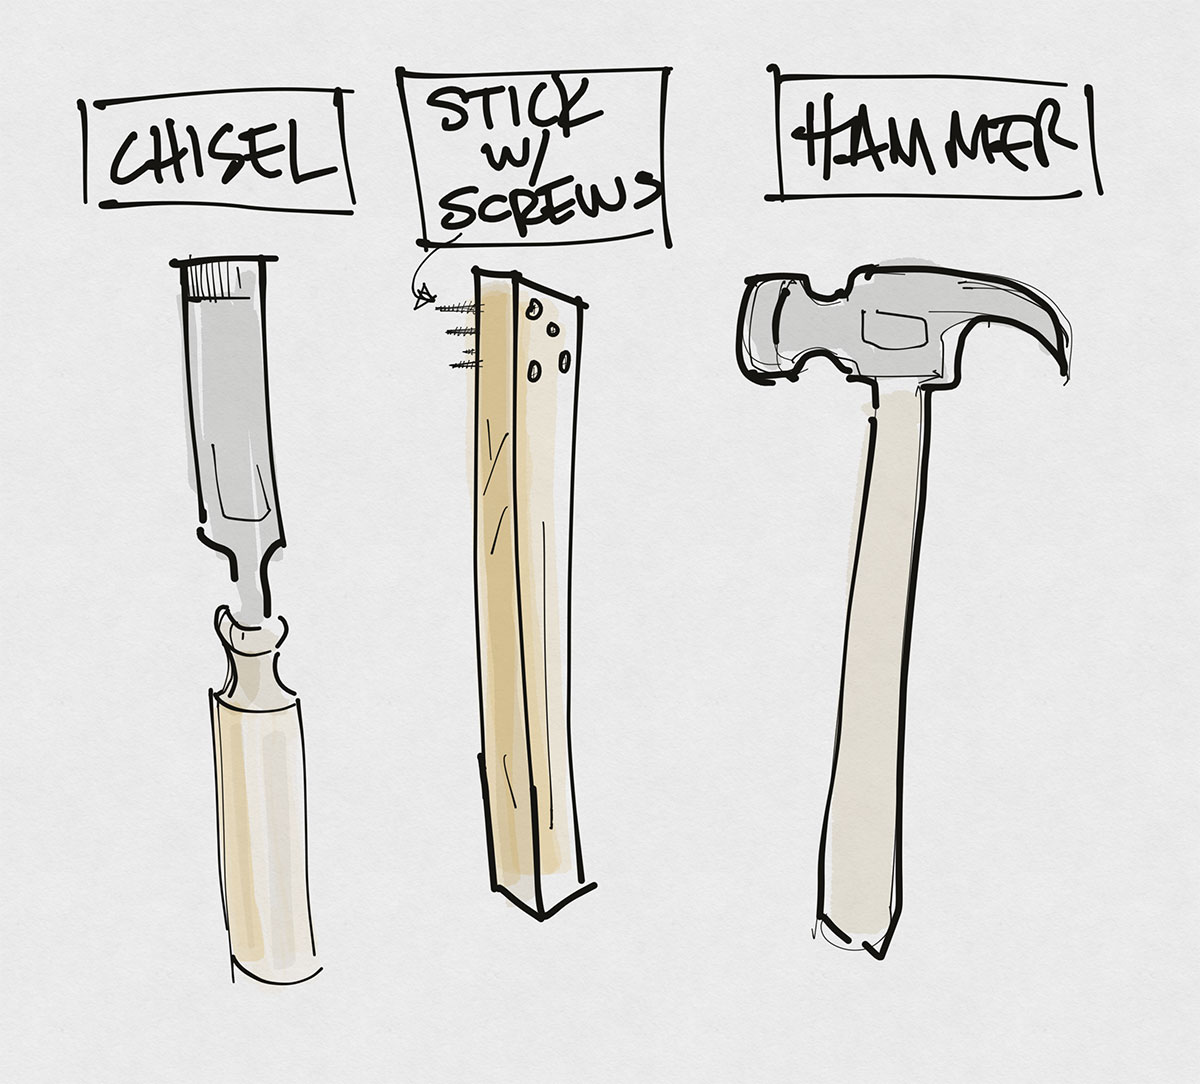
First, let’s start with what supplies you’ll need:
- Paint in your choice for base coat (Pro tip: Fusion Mineral and Valspar paints work well)
- Casement color paint of choice – (Pro tip: Again, Fusion Mineral and Valspar work well here)
- Crackle medium
- Vaseline
- Paint brush
- Paint sprayer
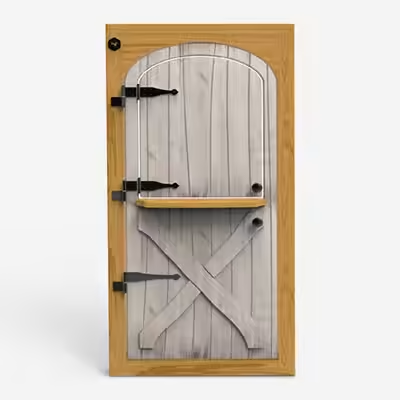
- Door material of choice (Pro tip: Hollow core doors are a great-looking and inexpensive option.)
Step 1: Paint your door
If you’re going for a distressed look that has a chipped paint-like finish, pick your base paint and get to brushing – or spraying. An Algonquin beige/brown base paired with a nice white, grey or even sage green Casement finish can really make the chipped paint look pop. It’s the perfect combination to make a door look old and rustic.Don’t worry about painting two coats since this is just the base layer. And the best part? It doesn’t have to look perfect. In fact, imperfection is the key to making your door look uniquely distressed.
Step 2: Apply the crackle medium
Once your paint has dried, it’s time to brush on the crackle medium. It’s a clear application, in which the thicker you brush it on, the larger your cracks will be. On the flipside, a thin coat will give you smaller cracks in your finish.Decide how much cracklature you want to put into your distressed look. Let the crackle finish or spray dry completely. This should take approximately two to three hours.
Note: Lay your door down flat when applying the crackle so you get an even distribution and no dripping or pooling. Be sure to put down a tarp, newspaper, or cut up trash bags to protect your floor from any drips while drying.
Step 3: Apply Vaseline for extra distress
If you want to make your door look a little extra distressed and worn, you can rub some Vaseline around the edges of the door panels and other spots where paint would naturally rub/flake off with age. Adding this step to the distressing process on your new or old door can give it a more natural, authentic look.Step 4: Lay down your Casement paint color
Now here’s where perfecting your DIY distressed look can get a bit tricky. If you over brush crackle medium you can end up with a gunky, finished product. Conversely, if you only brush one stroke of paint on the crackle, you can end up with unnatural-looking brush strokes, especially on large surfaces … you know, like a door.A good solution? Use a paint sprayer! Pour in your entire 500-milliliter bottle of Casement color paint into the sprayer and thin the mixture with a 10% ratio of water.
Note: Before you start spraying your Casement paint, it’s important you get a feel for the sprayer and for delivering a steady, even spray. Directly spraying your door isn’t a good testing point. Try testing your sprayer on a piece of cardboard or another disposable surface first before applying it to your door.
Step 5: Watch it crackle
After you apply a thick coat of Casement paint (you won’t get a second coat chance with the crackle), you can sit back and watch the snap, crackle and pop magic happen. Within just a few minutes, you can see the nearly-finished product of your distressed wood interior doors.Step 6: Remove the Vaseline
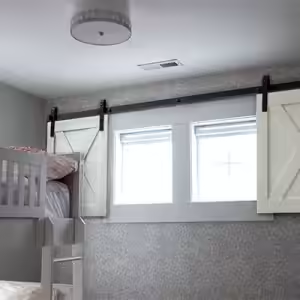
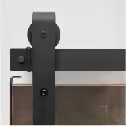
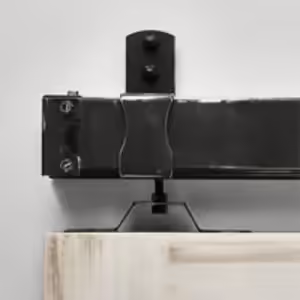
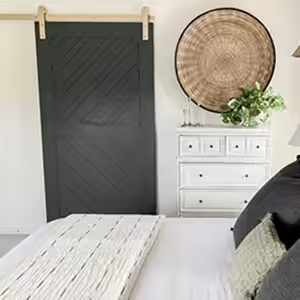
You’ll be able to see your new distressed door will look like as it crackles right before your eyes. But you’re not quite done yet. Once it’s thoroughly dry, the last step is to wipe away any Vaseline traces you applied on the panel edges with a clean rag. This will reveal more of that beautiful brown undertone and increase the weathered look.And there you have it, the steps for how to distress painted wood – giving an old look to a new door, perfectly capturing that coveted distressed finish. The only thing that can make this vintage look even better is applying this finish to a sliding barn door track system for a truly weathered, rustic look.