 800-891-8312


-1601395521090.avif)


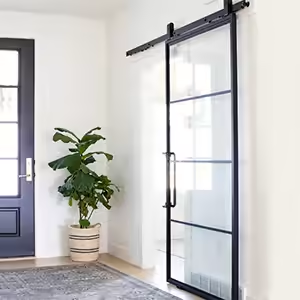
So you’ve fallen in love with the functional beauty of barn doors and now you want to enjoy them on your cabinets?... Awesome! We’ve got a few pointers on how to get straight to it.
You’re probably in one of these two common scenarios. You may have existing traditional cabinet doors that you’d like to switch out cabinet barn doors or you are starting from scratch with a surface that is begging for some functional art in the form of cabinets, barn door style.
Either way, the key is to get the barn doors and barn door hardware installed onto the cabinet.
Let’s organize this process into 4 steps.

Step 1. Take a step back
In this step you will need to grab your most trusted tape measurer and check a few things.
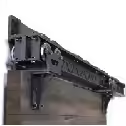
Get a measurement of how much space you have from the top of the cabinet door opening to the ceiling or the total height of the face frame above the opening. You’ll need this space to affix your track to. You’ll also need some space above that for your hangers (the beautiful strap with wheel) to roll freely on top of the track.
TIP: With Cabinet barn door hardware, you do not need the same size hanger as a typical barn door because they are so much lighter. Check out our website for the perfectly designed and engineered cabinet barn door hardware that we call our “mini”.
Depending on which style hardware you chose, make sure that you have enough head room for the hanger and track.
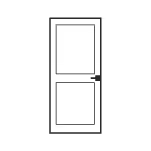
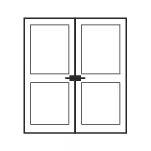
The other measurement you should double check is the width and height of the door in comparison to the opening. You are going to want the door to overlap the opening so that you don't see into the cabinet when the door is in the closed position.

Step 2. Dig in & Pull the trigger
Now it's time to use the drill!
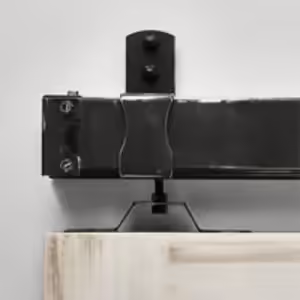
You’ll want to line up the end of your track with the edge of where the door will be in the closed position. The rest of the track should be going beyond the opening in the direction that you want it to open.
Double check that you have enough head as you should have already noted this in the previous step and then make sure that the bottom of the track does not interfere with the top of the opening.
TIP: Get your trusty ol’ BFF to hold the track in place with a level on top while you mark through the holes in the track onto the face frame of the cabinet.
Now, high five your BFF for good measure… and then drill pilot holes into the face frame for your lag screws to affix the track.
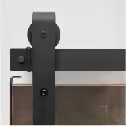
Using the provided lag screws, spacers and stops, affix the track to the face frame.

Step 3. The doors
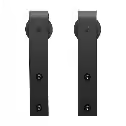
With extreme pride, take the cabinet barn door hangers and install one to each side of the cabinet door.
Make sure that the space between the bottom of the wheel and the top of the door is a minimum of 3/8” taller than the width of the track. There are multiple track width options so just double check which one you went with.
The hanger strap should be installed so that when the door is in the closed position, the edge of the hanger will contact the track stop. Double check this measurement before you drill holes in your door.
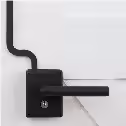
Now, mark through the holes of the hangers onto the face of the door and drill through the door for the hanger hardware provided and secure the hangers to the door.

Step 4. Hang it!
Pause for effect...Isn’t that stunning??!
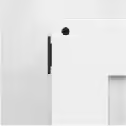
With your cabinet barn door is smoothly rolling along the track it’s time for one more high five. (But don't get too cocky)... you need to make sure that you finish this little project off with the bottom guide and the anti-jump brackets to ensure this little beauty doesn’t get any crazy ideas.
Use the provided screws to install these precautionary pieces that will help the door stay on track.
Well, played. Your next step is to enjoy it while thinking of more places to put some barn doors....
#Rustica
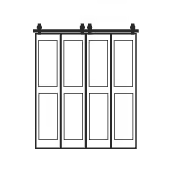
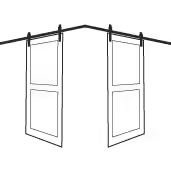
Rustica Hardware Wooden Cabinet Doors: Sliding & Hinged:

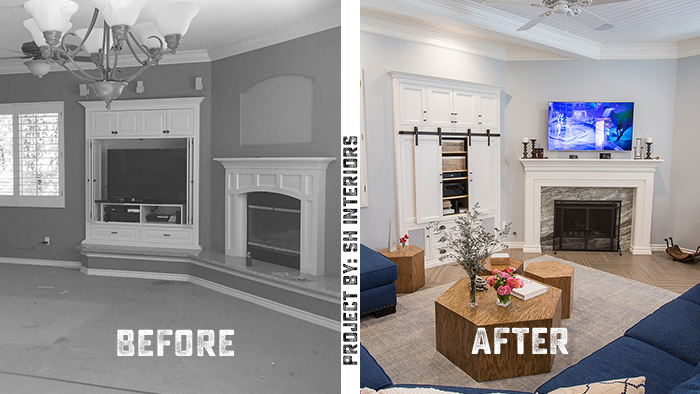
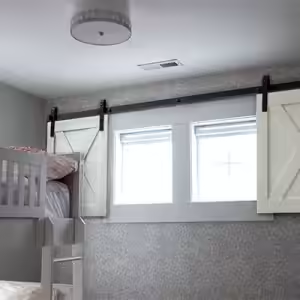
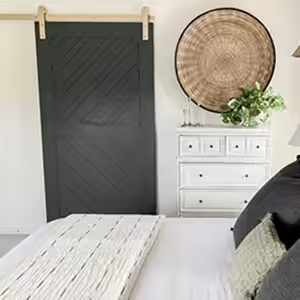
Sliding Barn Door Cabinet Project by SH Interiors: