
 800-891-8312


-1601395521090.avif)


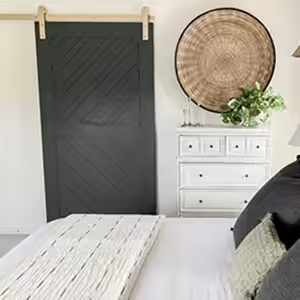


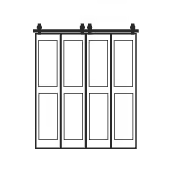
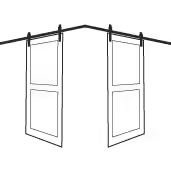
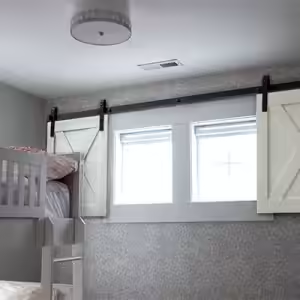
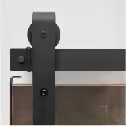
Get a handle on your sliding barn doors
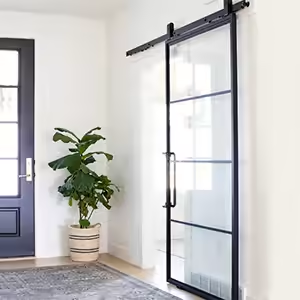
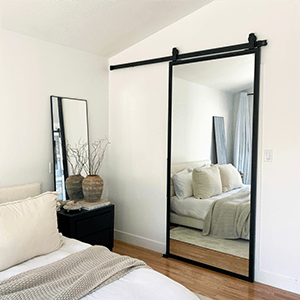
Do you have a gorgeous sliding barn door in your home, but experience some difficulty opening and closing it without effort? Installing door pulls or a handle to complete your sliding barn door design can help make opening and closing your door much easier. Not only does a pull look fashionable, but it’s also functional, allowing your door to smoothly glide open and shut without a struggle.
However, even with a pull, if opening and closing your sliding barn door results in some accidental slamming from time to time (or you have kids that don’t know the definition of “gently”), check out our safe stop hardware options for a smoother, more controlled close after you install your door pull.
Now, back to how to install a door pull and the necessary steps you need to follow to get the job done right. Trust us, it’s a quick fix!
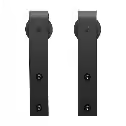
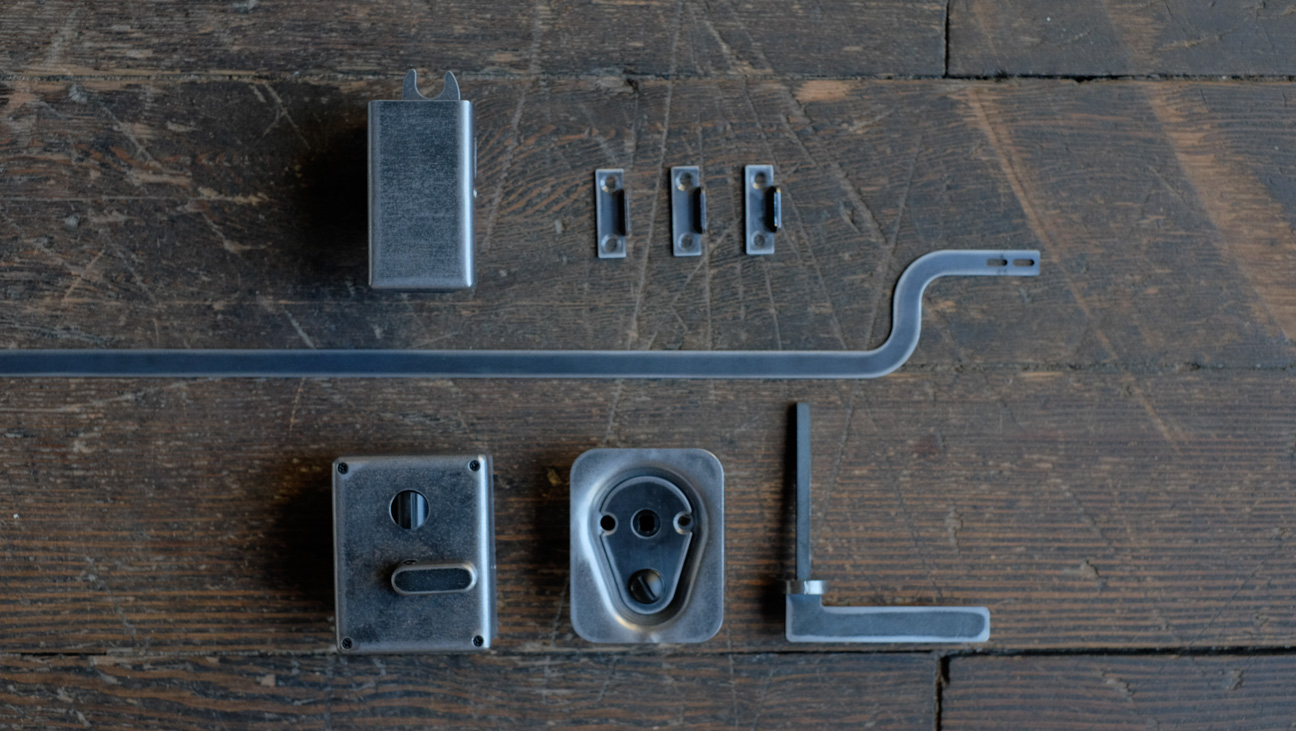
Step 1: Choose your pull
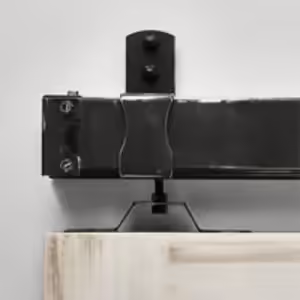
With so many options of sliding barn doors to choose from, it’s only fitting that there are just as many styles, sizes, and finishes of pulls and handles to consider. From sleek metal handles with an industrial feel to door pulls embellished with braided leather, to ornately wrought flush pulls that don’t just out from the door -- there’s a door pull to suit every style.Once you’ve chosen your pull or handle for your door, it’s easy to install your sliding door handles. The process is easy and straightforward – just make sure your door is made from solid wood. Otherwise, you may need to install an anchor so the handle isn’t accidentally ripped off after a few uses.
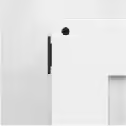
Step 2: Align the handle
Prep your door by finding the desired spot where you’d like the door handle to be fixed. Make sure the handle is perfectly straight so that you don’t have a slightly off-kilter door handle.If you don’t quite trust yourself enough to eyeball it, you can use a level for greater precision.
Mark the area where you plan to drill to add the screws for your handle or pull.
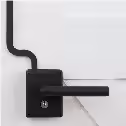
Step 3: Attach the pull
Once you’ve marked off your perfect alignment, it’s time to screw in the handle. An electric drill can make quick work of this step. In most cases, all it takes are just a few screws to fix your new handle to your sliding door.Step 4: Install a lock and hook
If you just want a handle or pull on your door, you’re finished and can now enjoy sliding and shutting your sliding barn door with the greatest of ease! But, if you want to up the ante with a hook and lock for a little extra privacy, this final step is your added bonus.As was the case with installing a pull handle, you’ll need to measure and mark where you’d like your hook and loop to sit. In this case, you have to be extra exact in your measurements since the hook and the loop must line up precisely when closed.
Your lock, latch, or hook will be fixed to your door, while the hoop or lock stop will align directly across from it on the adjacent wall. Simply mark, drill, and add screws to your hardware and you’re good to go.
And just like that, you’ve got all you need to ensure your beautiful sliding barn door is ready for action. Looking for pulls? Check out all our pulls and handles today!