
 800-891-8312


-1601395521090.avif)


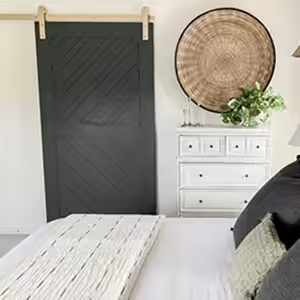


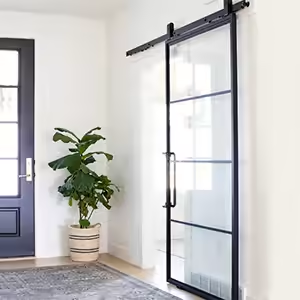
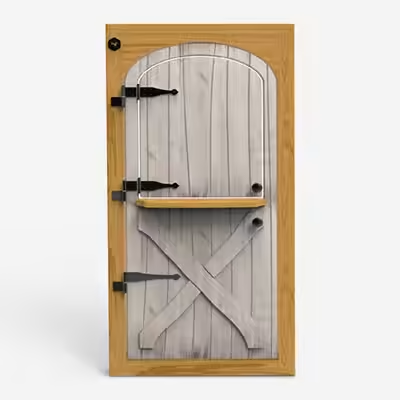
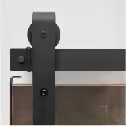
So, you have a sliding barn door and you love it. It accentuates your home décor, it saves tons of space, beautifully divides your rooms, and your guests can’t stop ogling it.
You’ve got almost no complaints … almost.
“Wham!” “Bam!”
Sound familiar? If you have rowdy kids or an overly aggressive door-flinging arm (after all, a solid door can generate a lot of force), then you can correctly identify it as the sound of your elegant sliding door not-so-elegantly shutting – and banging into your drywall (and your eardrums).
But don’t fret! The simple addition of soft close barn door hardware can help you upgrade your sliding system, regulating the speed and smoothness in which the door closes. And better yet, it’s incredibly easy and fast to install.
Here’s how:
First, let’s start with what you’ll need for the barn door soft close installation.
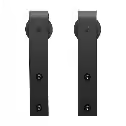
- The soft close bracket
- 4 screws
- Stool or ladder
- Philips screwdriver or drill
That’s all!
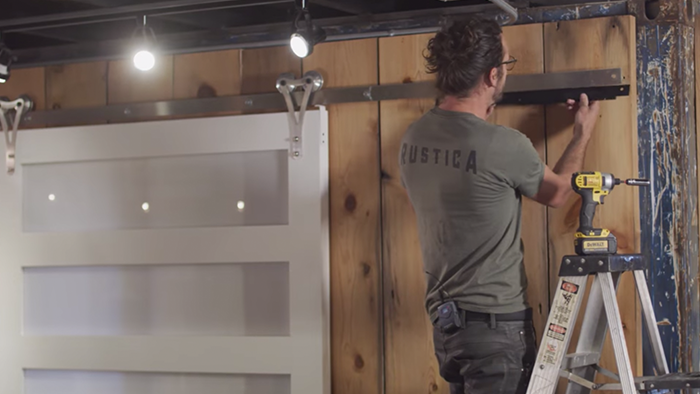
Step 1: Prep the door to install a barn door soft close system
Start by taking off the anti-jump bracket located on the edge of the door. This task should consist of removing a few screws.Step 2: Remove lags and spacers
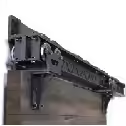
Next, move the door away from the railing system’s last two spacers. This will make it easy to remove the lag and spacers. An electric drill and the right socket attachment will make this step quick and painless.Step 3: Install the soft close door hardware
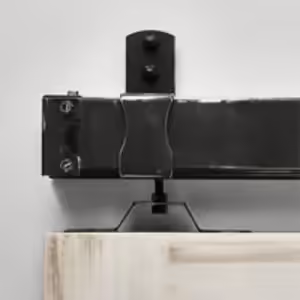
Once the lags have been removed, grab your soft close hardware bracket and simply slip it behind the current track. To do so, align the hole from the soft close hardware with the hole on the top end of the track.Note: There is a small bracket on the bottom of the soft close sliding door hardware plate that must be oriented down toward the bottom of the track.
Step 4: Replace spacers
Once you have the soft close bracket aligned, take the spacers you removed and reinstall them along with the lags and stops. Once again, your drill should make quick work of this task.Step 5: Attach the stop tab
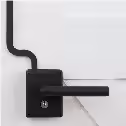
Now that the soft close bracket has been successfully installed, your final step is to attach the small stop tab hardware piece. Go ahead and slide the door all the way to the closed position (with the hanger up against the stop).Next, orient the stop tab at the top of the door or back of the door. However, note that if you want the stop tab on the back of the door, you’ll need to remove the door to do so.
Once your stop tab is correctly oriented, you’ll notice a tab that sticks down below the soft close door mechanism. This tab must be angled upwards so that it grabs your stop tab. Once you have it firmly aligned, grab your Philips screwdriver or drill to install the tab. Simply use your drill or screwdriver to adhere the tab with four screws near the top of the door.
And you’re done!
You’re now ready to enjoy not just your sliding barn door, but some peace and quiet thanks to your new door soft close system. Not only will this system help regulate the speed at which your door closes – but your ears and walls will be grateful. With your installation complete, you can now safely say goodbye to those cringe-worthy accidental slams.
+Rustica