
 800-891-8312


-1601395521090.avif)


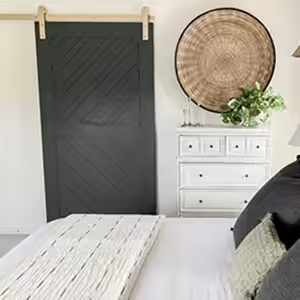


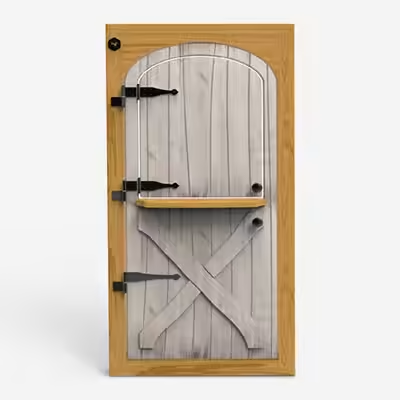
Bringing country charm from the farmhouse to your house
There’s no denying the popularity of rustic chic. And why not, it gives even the most modern of homes a cool vintage vibe and quaint country charm. There are so many different repurposed and reclaimed country accent pieces finding their way from prairie barns to the ‘burbs outside of major metropolitan cities, but the one rustic style that’s booming in popularity is the barn door.It’s the perfect piece to separate a room, add privacy, even increase space. One of the most alluring features of a barn door is its sliding ability. Not only is it a unique function, but it’s a space saver, too. No need to worry about doors opening up into narrow corridors or making every square foot of a small bathroom count. (Ever had a bathroom door that opens out into a small hallway? Yeah, not so fun.)
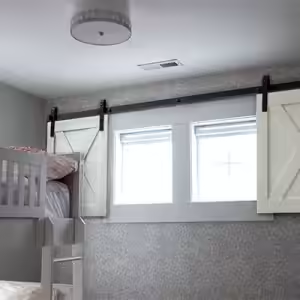
On top of its functionality and space-saving capabilities, sliding barn doors make an eye-catching statement in any room, regardless of whatever style or motif your home decor has going on. And last but not least, one of the most appealing factors of a barn door is that they’re a fairly simple DIY project. In fact, by the time you’re finished reading these 5 easy barn door installation steps, you’ll be ready to add a touch of rustic chic to your home décor scheme with a genuine sliding barn door of your own.
Step 1: Weigh your hanging options (literally).
The first thing to keep in mind when considering how to install a sliding barn door is that barn doors are heavy, especially if they’re made from authentic reclaimed barn wood. That means your track system is going to need to be attached to a mounting board or blocking that can securely hold the weight. We recommend using a 1” x 4” mounting board that’s the same length as the track but just a little bit wider. Using your drywall anchors, spacers and lag bolts, carefully secure the mounting board into place.
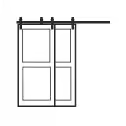
Step 2: Get your door on track.
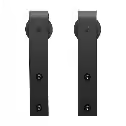
Once you’ve found the perfect spot in your home and you’ve got the mounting board up, you can move onto the next step of hanging your sliding barn door: assembling the flat steel track using the included joint brackets.
Note: You may need to cut the track to fit your specific length. A good rule of thumb is a track that’s at least twice with width of the door, so that it can open fully and freely.
Step 3: Drill time!
Now that you’ve got your track measured, you’re ready to move onto the next step of hanging sliding barn doors, which means it’s time to drill install holes where it will be anchored to the mounting board. Remember, you’re going to need a metal-cutting drill bit for this part. It’s also a good idea to use an awl or a punch to make a pocket for the bit so it doesn’t slide on the metal during drilling.
There’s no set number of drill holes you need, so use your best judgment – just don’t be afraid to throw in an extra hole or two for good measure and added security.
Step 3b:
If you’re intimidated by marking and making holes in a track, you can buy a pre-drilled track with all of the hard work already done for you! These tracks come with pre-drilled holes for an aesthetically pleasing look. You’ll still need to mount the track to a header board since the holes may not line up with the studs in the walls, but it does help eliminate any anxiety around drilling precise holes on your own without a guide.
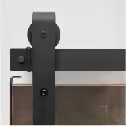
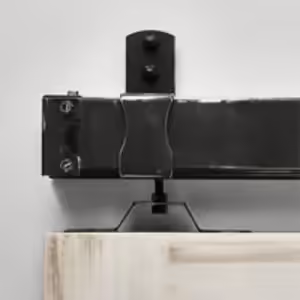
Step 4: Mount your track.
Next, you’ll want to getting your track up and running. Now is the time to break out your trusty level. If having a straight, level line could ever be more important, this would be the time. Making sure that your lines and hardware are perfectly level, install the track and spaces to the mounting board and wall.

Step 5: Hang it up.
The last step is technically a two-parter, but the finish line is in sight. Following the manufacturer’s instructions (depending on which rollers you purchased), attach your rollers to the door using the supplied hanger kit, which should include carriage bolts, washers, and nuts.
Finally, with the help of another person – trust us, it’s heavy – hang your new barn door, aligning the bottom guide and rollers with the track.
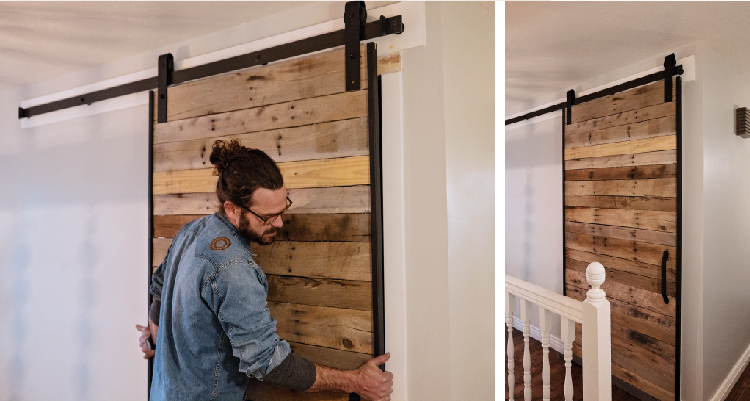
There you go! Your sliding door installation is complete and your new yet rustic looking barn door is ready for use! Slide it, admire it ,and show it off to friends and family. We hope our sliding barn door installation instructions have helped demystify the process of DIY-ing a barn door of your own to add character (and space) to your home.
Now that you’re done, what rustic chic project are you planning on doing next?