 800-891-8312


-1601395521090.avif)


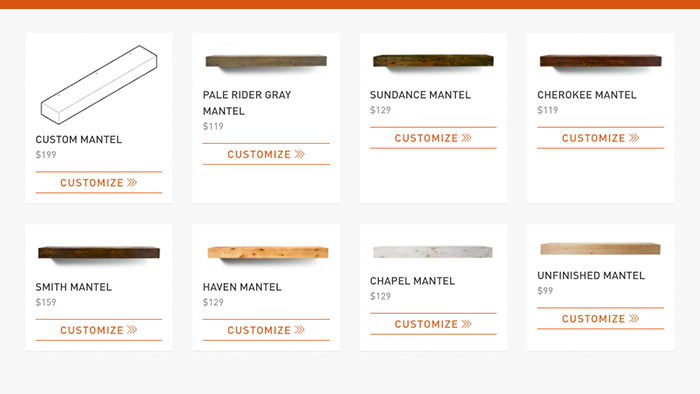
Install A Mantel in 3 Steps
Rustica mantels are durable and beautiful.
Our craftsmen customize each mantels finish and texture to your preference.
In 3 steps you can easily install this handmade piece of functional art in your home.
Follow the steps below or watch install tutorial here.
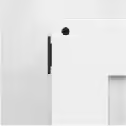
STEP 1 • Locate Studs
• Start by identifying where the studs are on the wall.
(Tip: Studs are typically spaced 16 or 24 inches apart along the wall and run vertically between the floor and ceiling.)
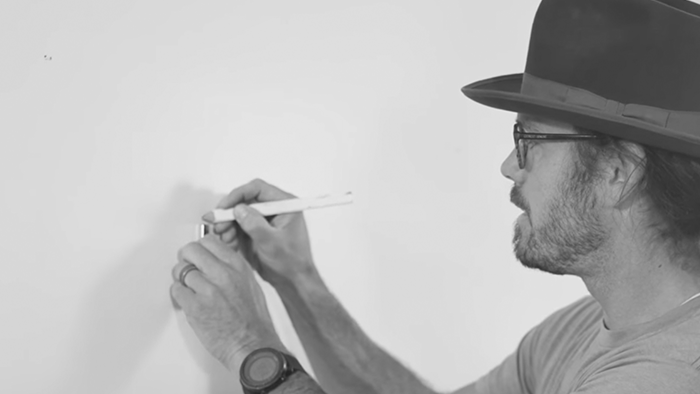
• Mark these points relative to the intended position you’d like to hang your mantel with a pencil.
(Tip: If you’re using a “stud finder”, take a moment to hold it against your body and show everyone in the room that you set it off with your sheer studliness.)
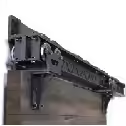
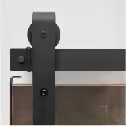
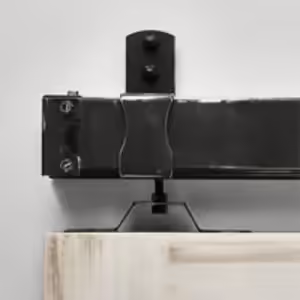
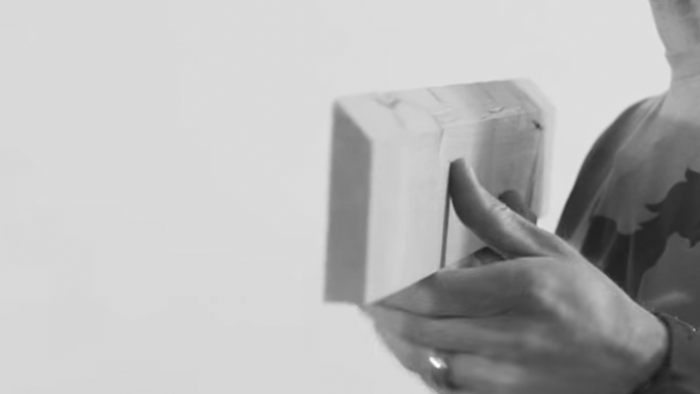
STEP 2 • Fix Cleat to Wall
• Cleats are commonly used to fasten mantels and shelves to the wall and can be identified by their angled edge (roughly 30-45 degree slope).
• The lower side of the cleat angle/edge faces inward and adjacent to the wall, whereas the top angle/edge faces outward and provides a lip to hook the mantel onto.
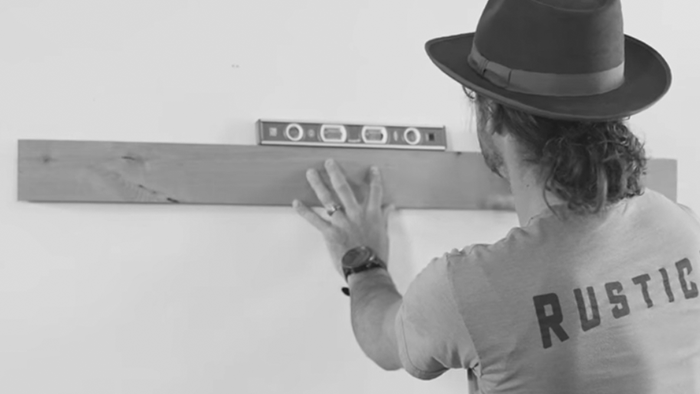
• Hold cleat against wall in the place you want to hang mantel and use a level to ensure correct position. Use a pencil to draw level indicator marks on wall at the bottom side of cleat.
(Note: The top of the cleat is going to be about ¾ in lower than the top of the mantel. Factor this into your cleat positioning.)
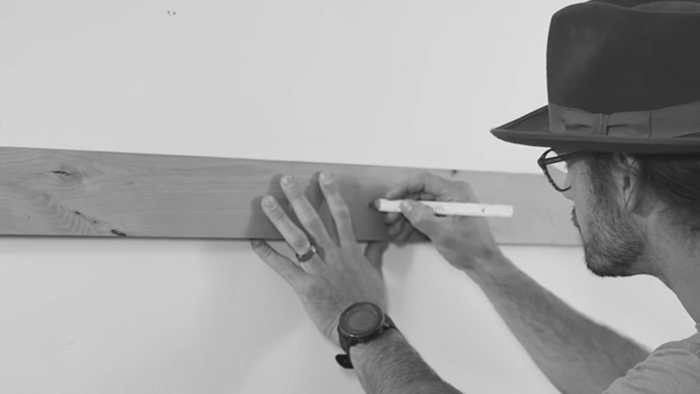
• While holding your cleat against the wall, reference the stud locations and mark on the cleat where they intersect.
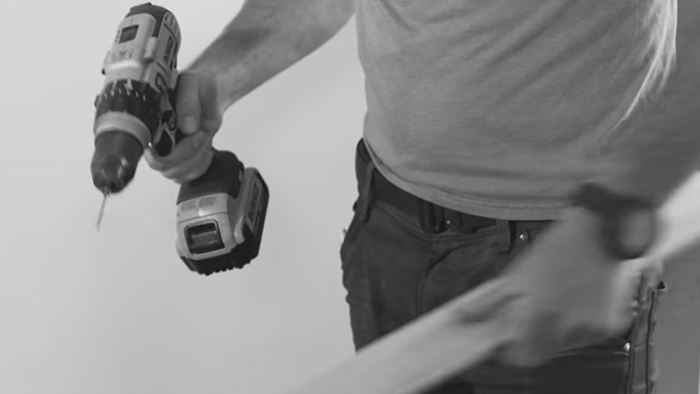
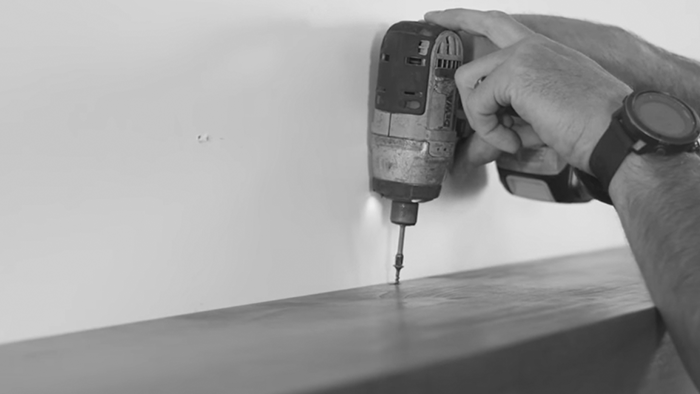
• Drill a pilot hole in cleat where the stud intersections are marked. These pilot holes are the points where you will fasten and screw cleat to wall.
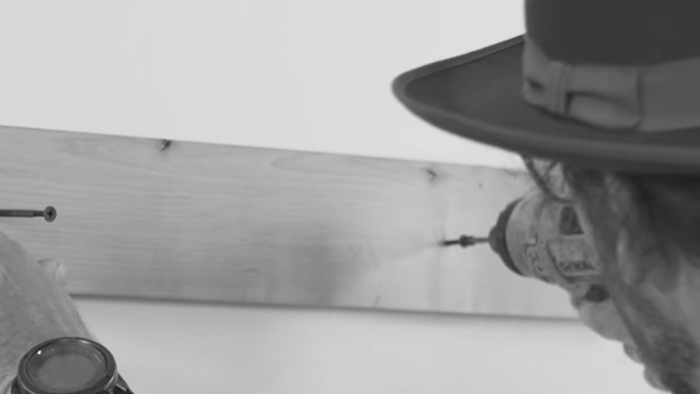
• Place cleat on wall and align properly with level marks. Double check that your pilot holes on cleat are positioned over the studs. Then screw cleat to wall at the pilot points and into stud.
(Tip: If you are unable to screw into a wall stud, then use a drywall anchor.)
STEP 3 • Mount Mantel to Cleat
• Inside the mantel is an opposing cleat that you will hook onto the mounted cleat.
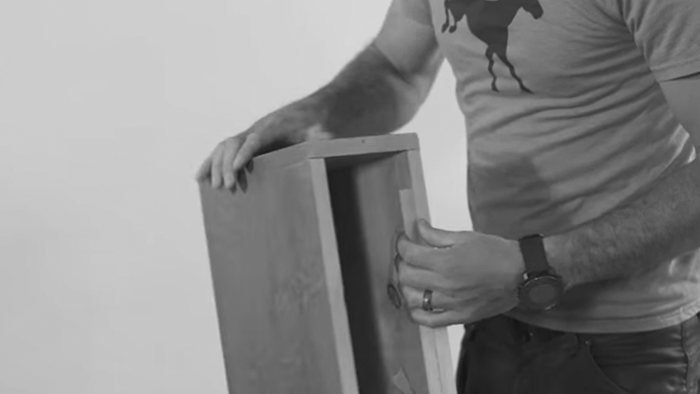
• Hang and secure mantel by matching the cleats.

• Drill screw(s) from top of mantel and down into wall cleat to lock mantel in place.
(Drum roll….) Bammo - You got the hang of it!
Install inspiration into your home with a signature centerpiece… and a place to “hang your hat”.
#Rustica